- #1
- 3,733
- 1,860
In the TIL thread, I posted a link which had a number of imaged of an early proposal for the Apollo program.
I thought I'd use them to do a few renders of what it might have looked like, and point out some of the major differences from the final version.
First, what the craft in fully assembled configuration

The plans where a bit shy on some of the cosmetic details, so a took some poetic license with that.
What immediately jumps out at you is that the whole Command module/service Module assembly was meant to descend to the Lunar surface. They hadn't come up with the separate lander and Lunar orbit rendezvous scheme at this stage yet.
Another thing to note is the plans showed no means for the crew to reach the Lunar surface, so took the liberty of adding a ladder. The only problem with this is that the designs included an airlock for the Command Module which exited through the nose. I'm not sure how they would have handled getting from airlock to Service Module ladder.
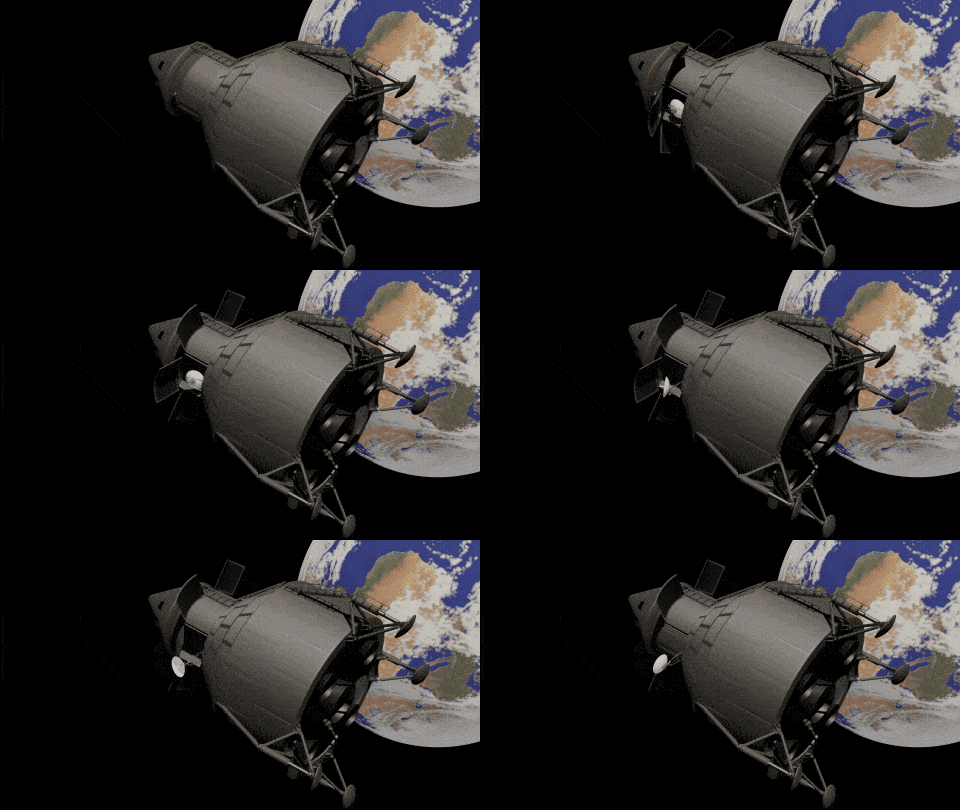
Another notable feature is that the Service Module incorporated hinged radiator panels and stored radar dishes the would deploy at some point. This GIF shows how this would work. The doors covering the radar dish compartments would close again after deployment.

Though there were two dishes, only one is visible here.
Landing on the Moon used a fixed J2 rocket engine and four thrusters mounted on gimbals. The four smaller thrusters were pressure fed from a Helium tank.
In these images the lander legs are in the default extended position. On landing, hydraulic struts would compress causing the legs to splay out further.
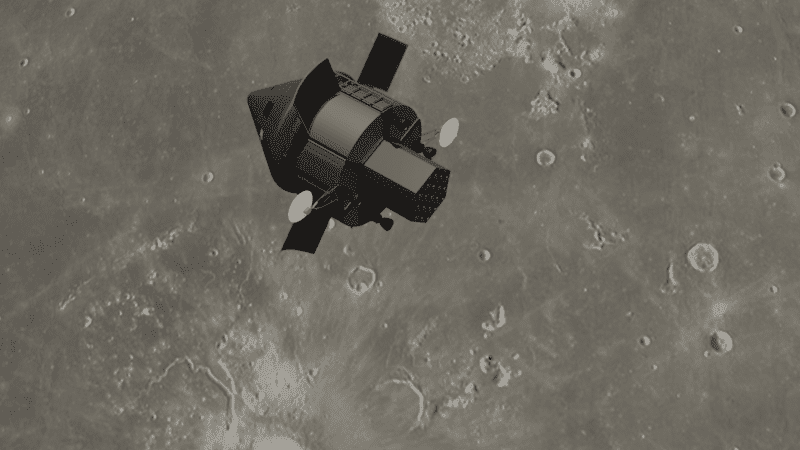
The SM/CM would leave the Moon initially by a solid fuel booster pack ( as shown here attached to the bottom of the SM) and four gimballed thrusters.

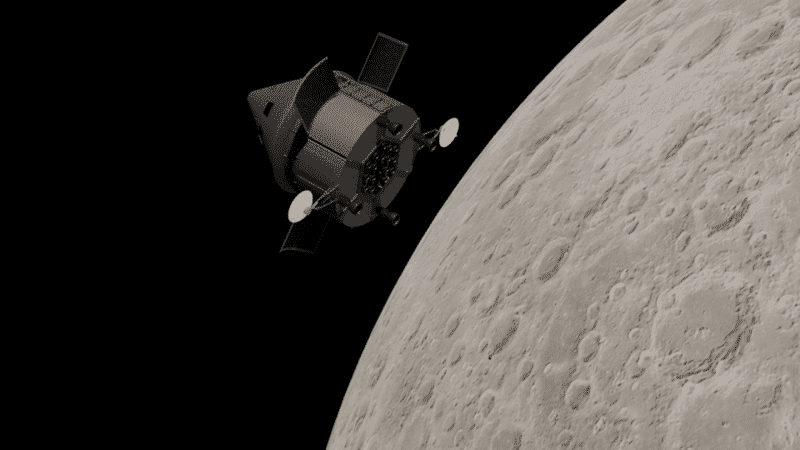
which would then detach, revealing another set of solid fuel boosters:

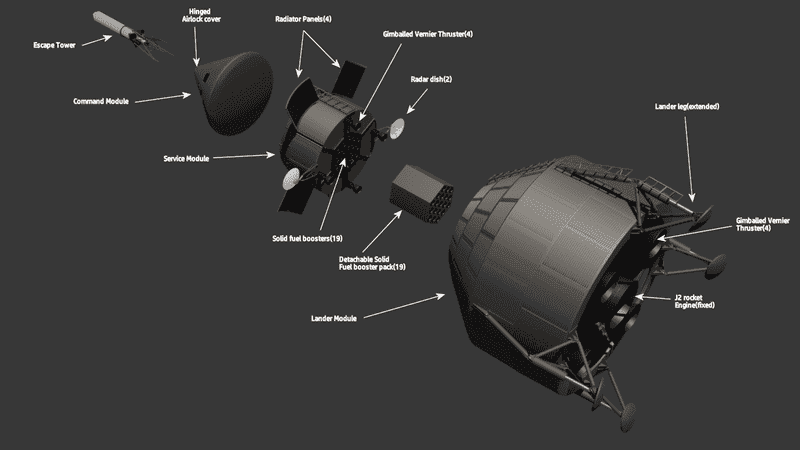
Here is the whole system expanded and labeled:

I thought I'd use them to do a few renders of what it might have looked like, and point out some of the major differences from the final version.
First, what the craft in fully assembled configuration
The plans where a bit shy on some of the cosmetic details, so a took some poetic license with that.
What immediately jumps out at you is that the whole Command module/service Module assembly was meant to descend to the Lunar surface. They hadn't come up with the separate lander and Lunar orbit rendezvous scheme at this stage yet.
Another thing to note is the plans showed no means for the crew to reach the Lunar surface, so took the liberty of adding a ladder. The only problem with this is that the designs included an airlock for the Command Module which exited through the nose. I'm not sure how they would have handled getting from airlock to Service Module ladder.
Another notable feature is that the Service Module incorporated hinged radiator panels and stored radar dishes the would deploy at some point. This GIF shows how this would work. The doors covering the radar dish compartments would close again after deployment.
Though there were two dishes, only one is visible here.
Landing on the Moon used a fixed J2 rocket engine and four thrusters mounted on gimbals. The four smaller thrusters were pressure fed from a Helium tank.
In these images the lander legs are in the default extended position. On landing, hydraulic struts would compress causing the legs to splay out further.
The SM/CM would leave the Moon initially by a solid fuel booster pack ( as shown here attached to the bottom of the SM) and four gimballed thrusters.
which would then detach, revealing another set of solid fuel boosters:
Here is the whole system expanded and labeled: